Building drones
Building your own FPV drone from scratch isn’t too difficult; generally, the hardest part ends up being the Betaflight configuration at the end. Setting up the PID from scratch, for example, can be daunting.
The troubleshooting guide may be useful here too.
The electronics stack
The electronics stack are the flight control hardware. These include the flight controller, the electronic speed controller (ESC, pronouncd by spelling out the acronym), the controller receiver (that receives the control signal from the controller), the video transmitter, and the OSD. For smaller drones (drones that use a 1S or 2S battery), you can fit most or all of these onto one board. A 5-in-1 includes all of these; a 4-in-1 usually lacks either the video transmitter or the controller receiver. A flight controller for digital video is usually a 4-in-1 that needs a separate video transmitter, while a 4-in-1 for an analog system needs a controller receiver.
Example build: 65mm whoop
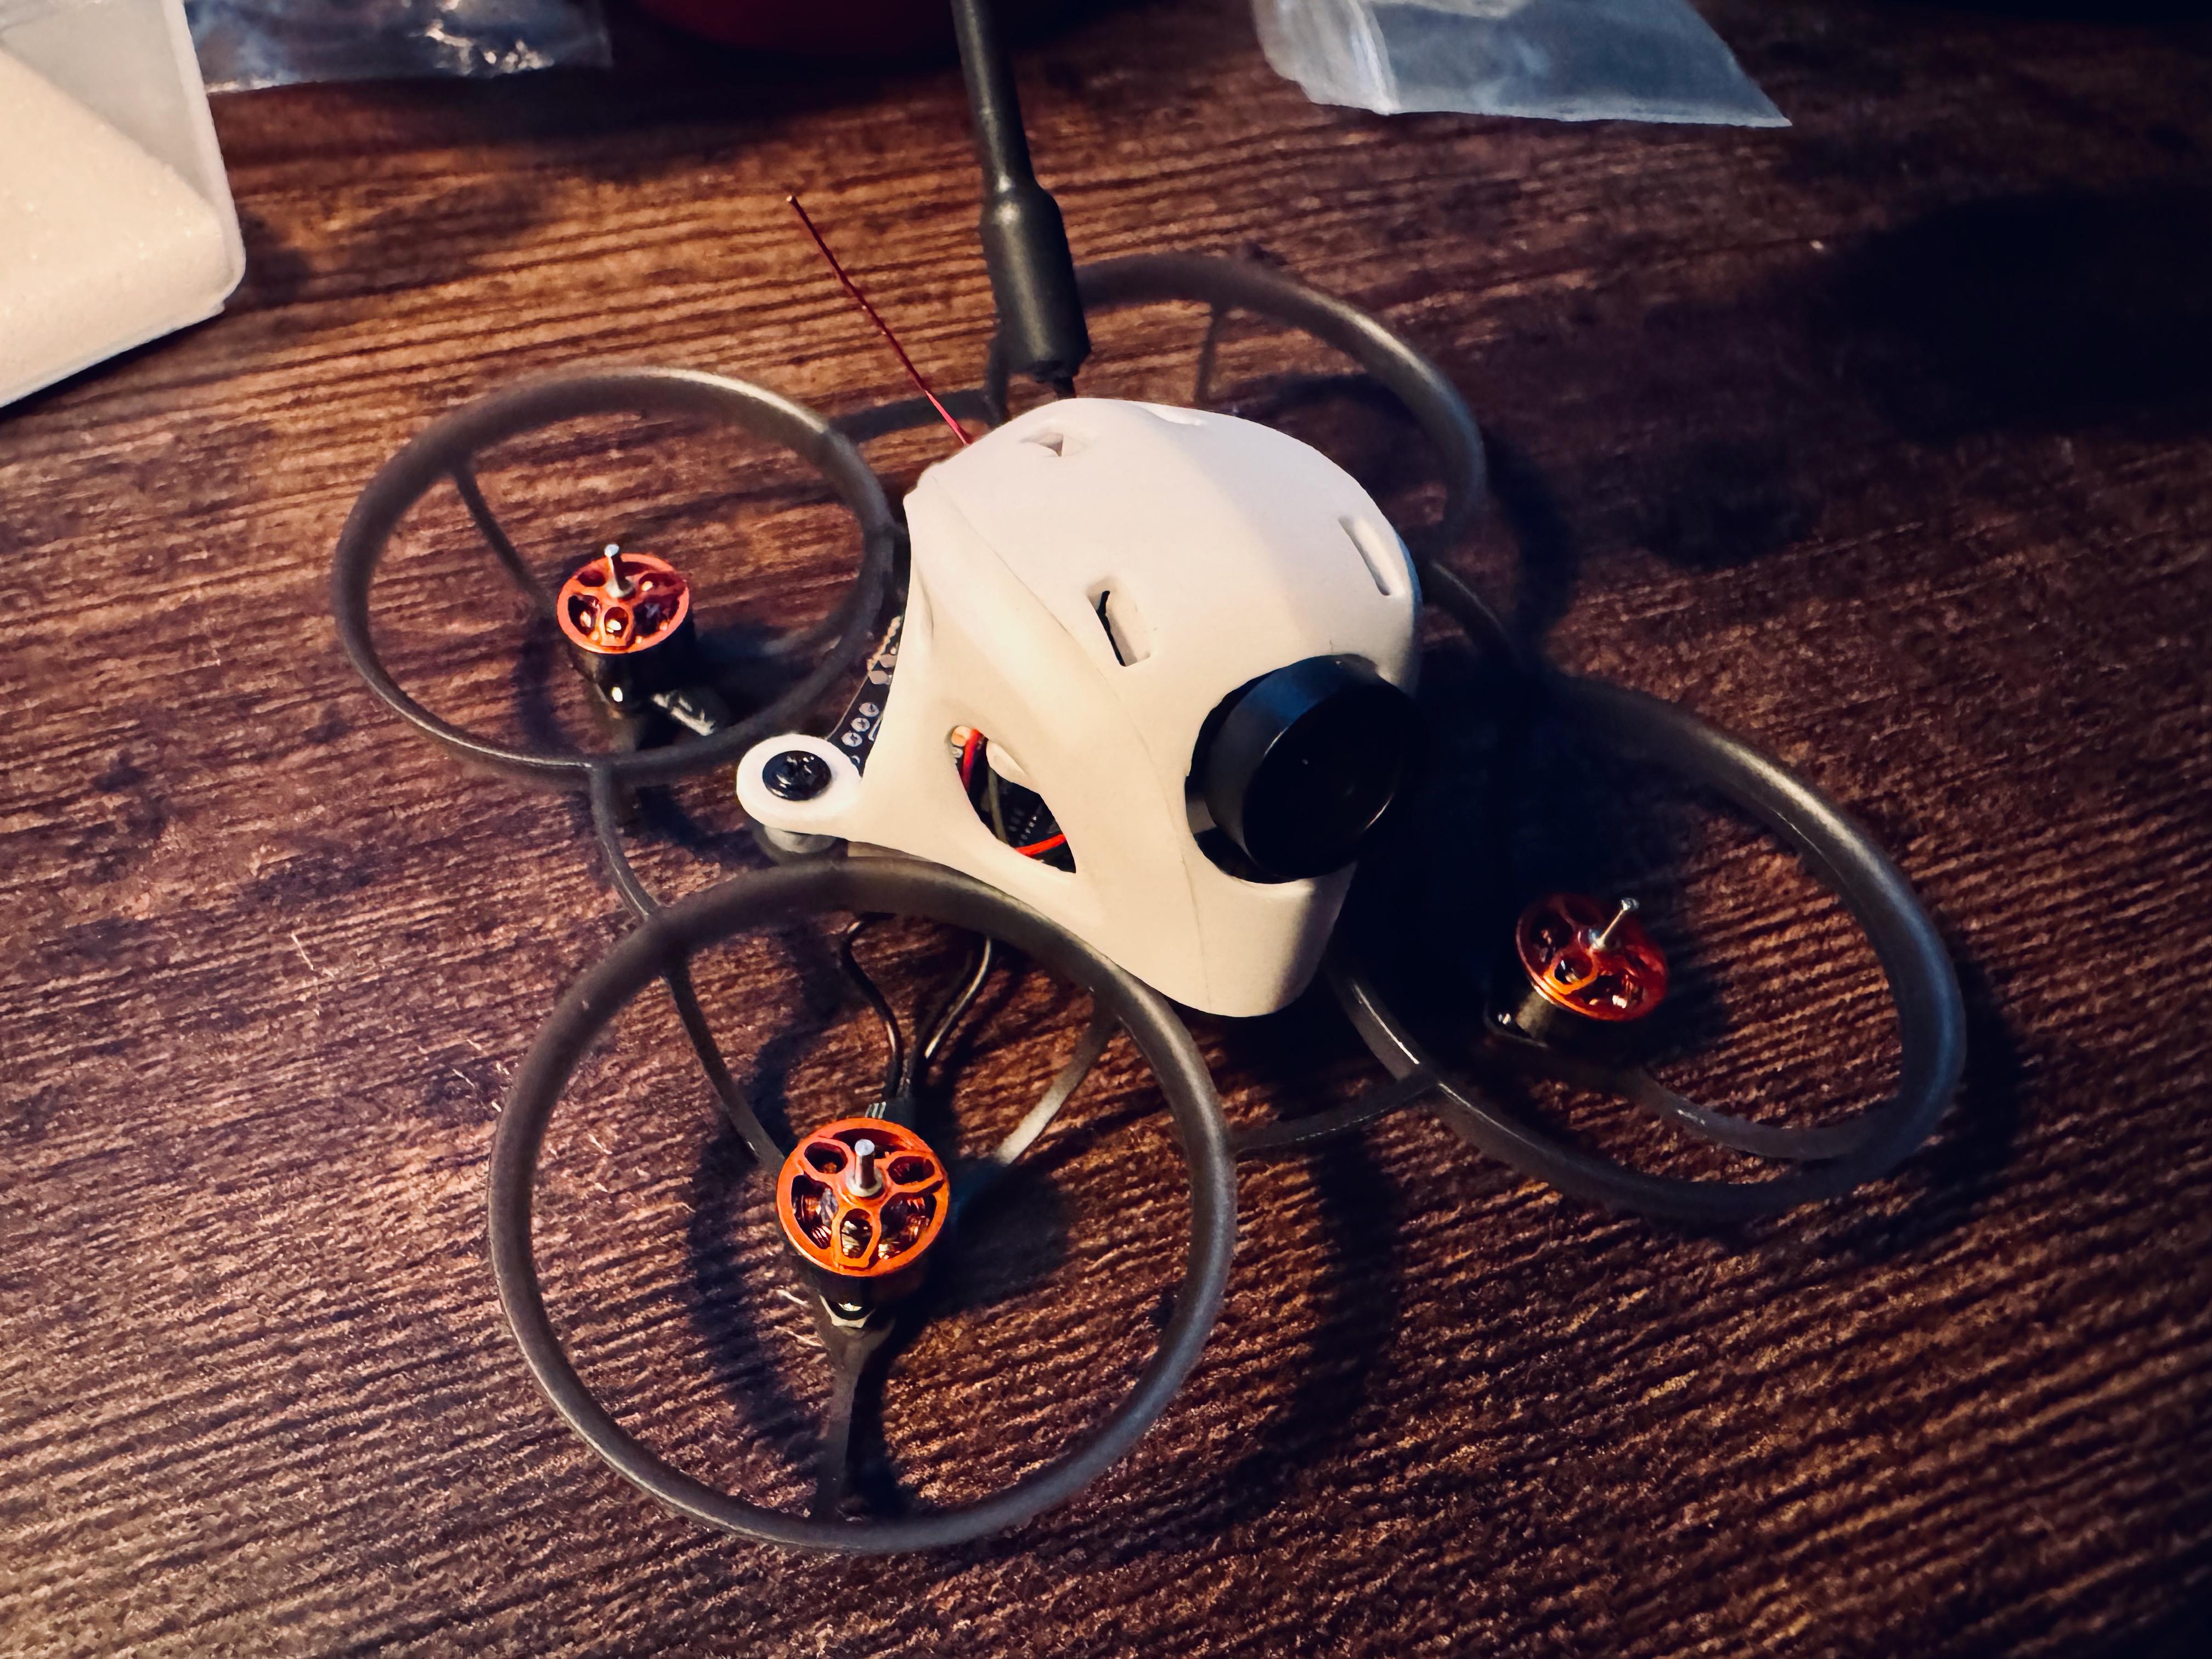
Here’s a layout of the parts we’ll use (note that I ended up using a different canopy than the one in this photo).
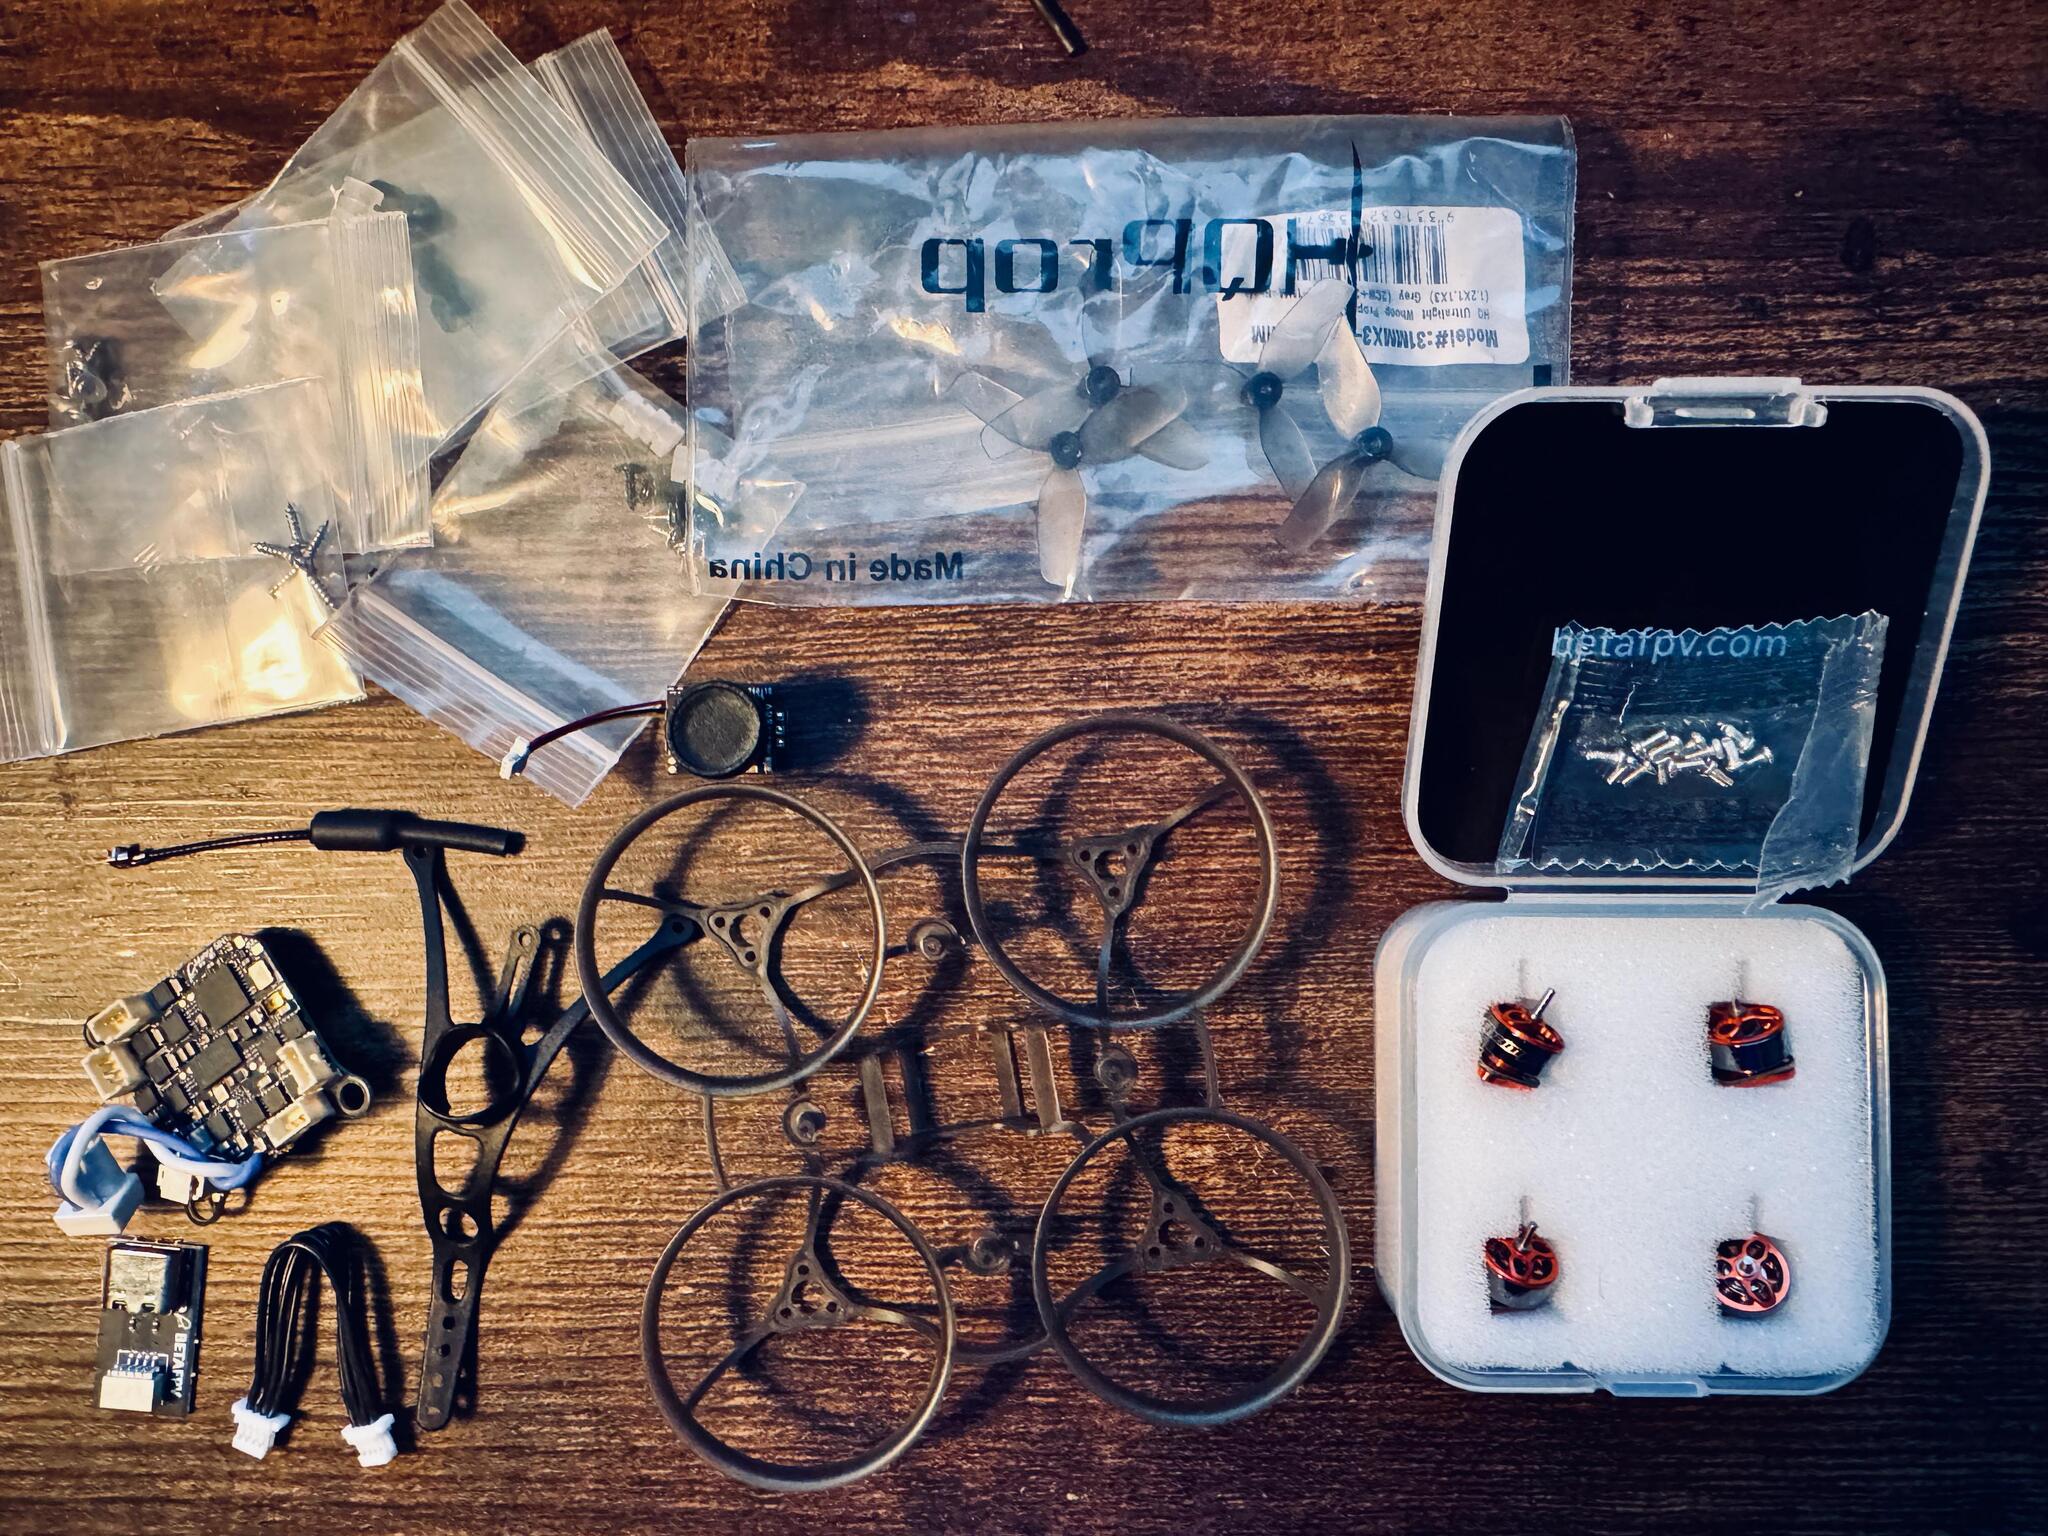
The parts here:
- Frame and canopy
- Motors and props
- A flight controller (in this case, a 5-in-1) with the programming adapter
- A video transmitter antenna
- Various mounting hardware bits and spares
Some people find it easier to build the entire canopy and flight controller set up first; for this build, I did the canopy last.
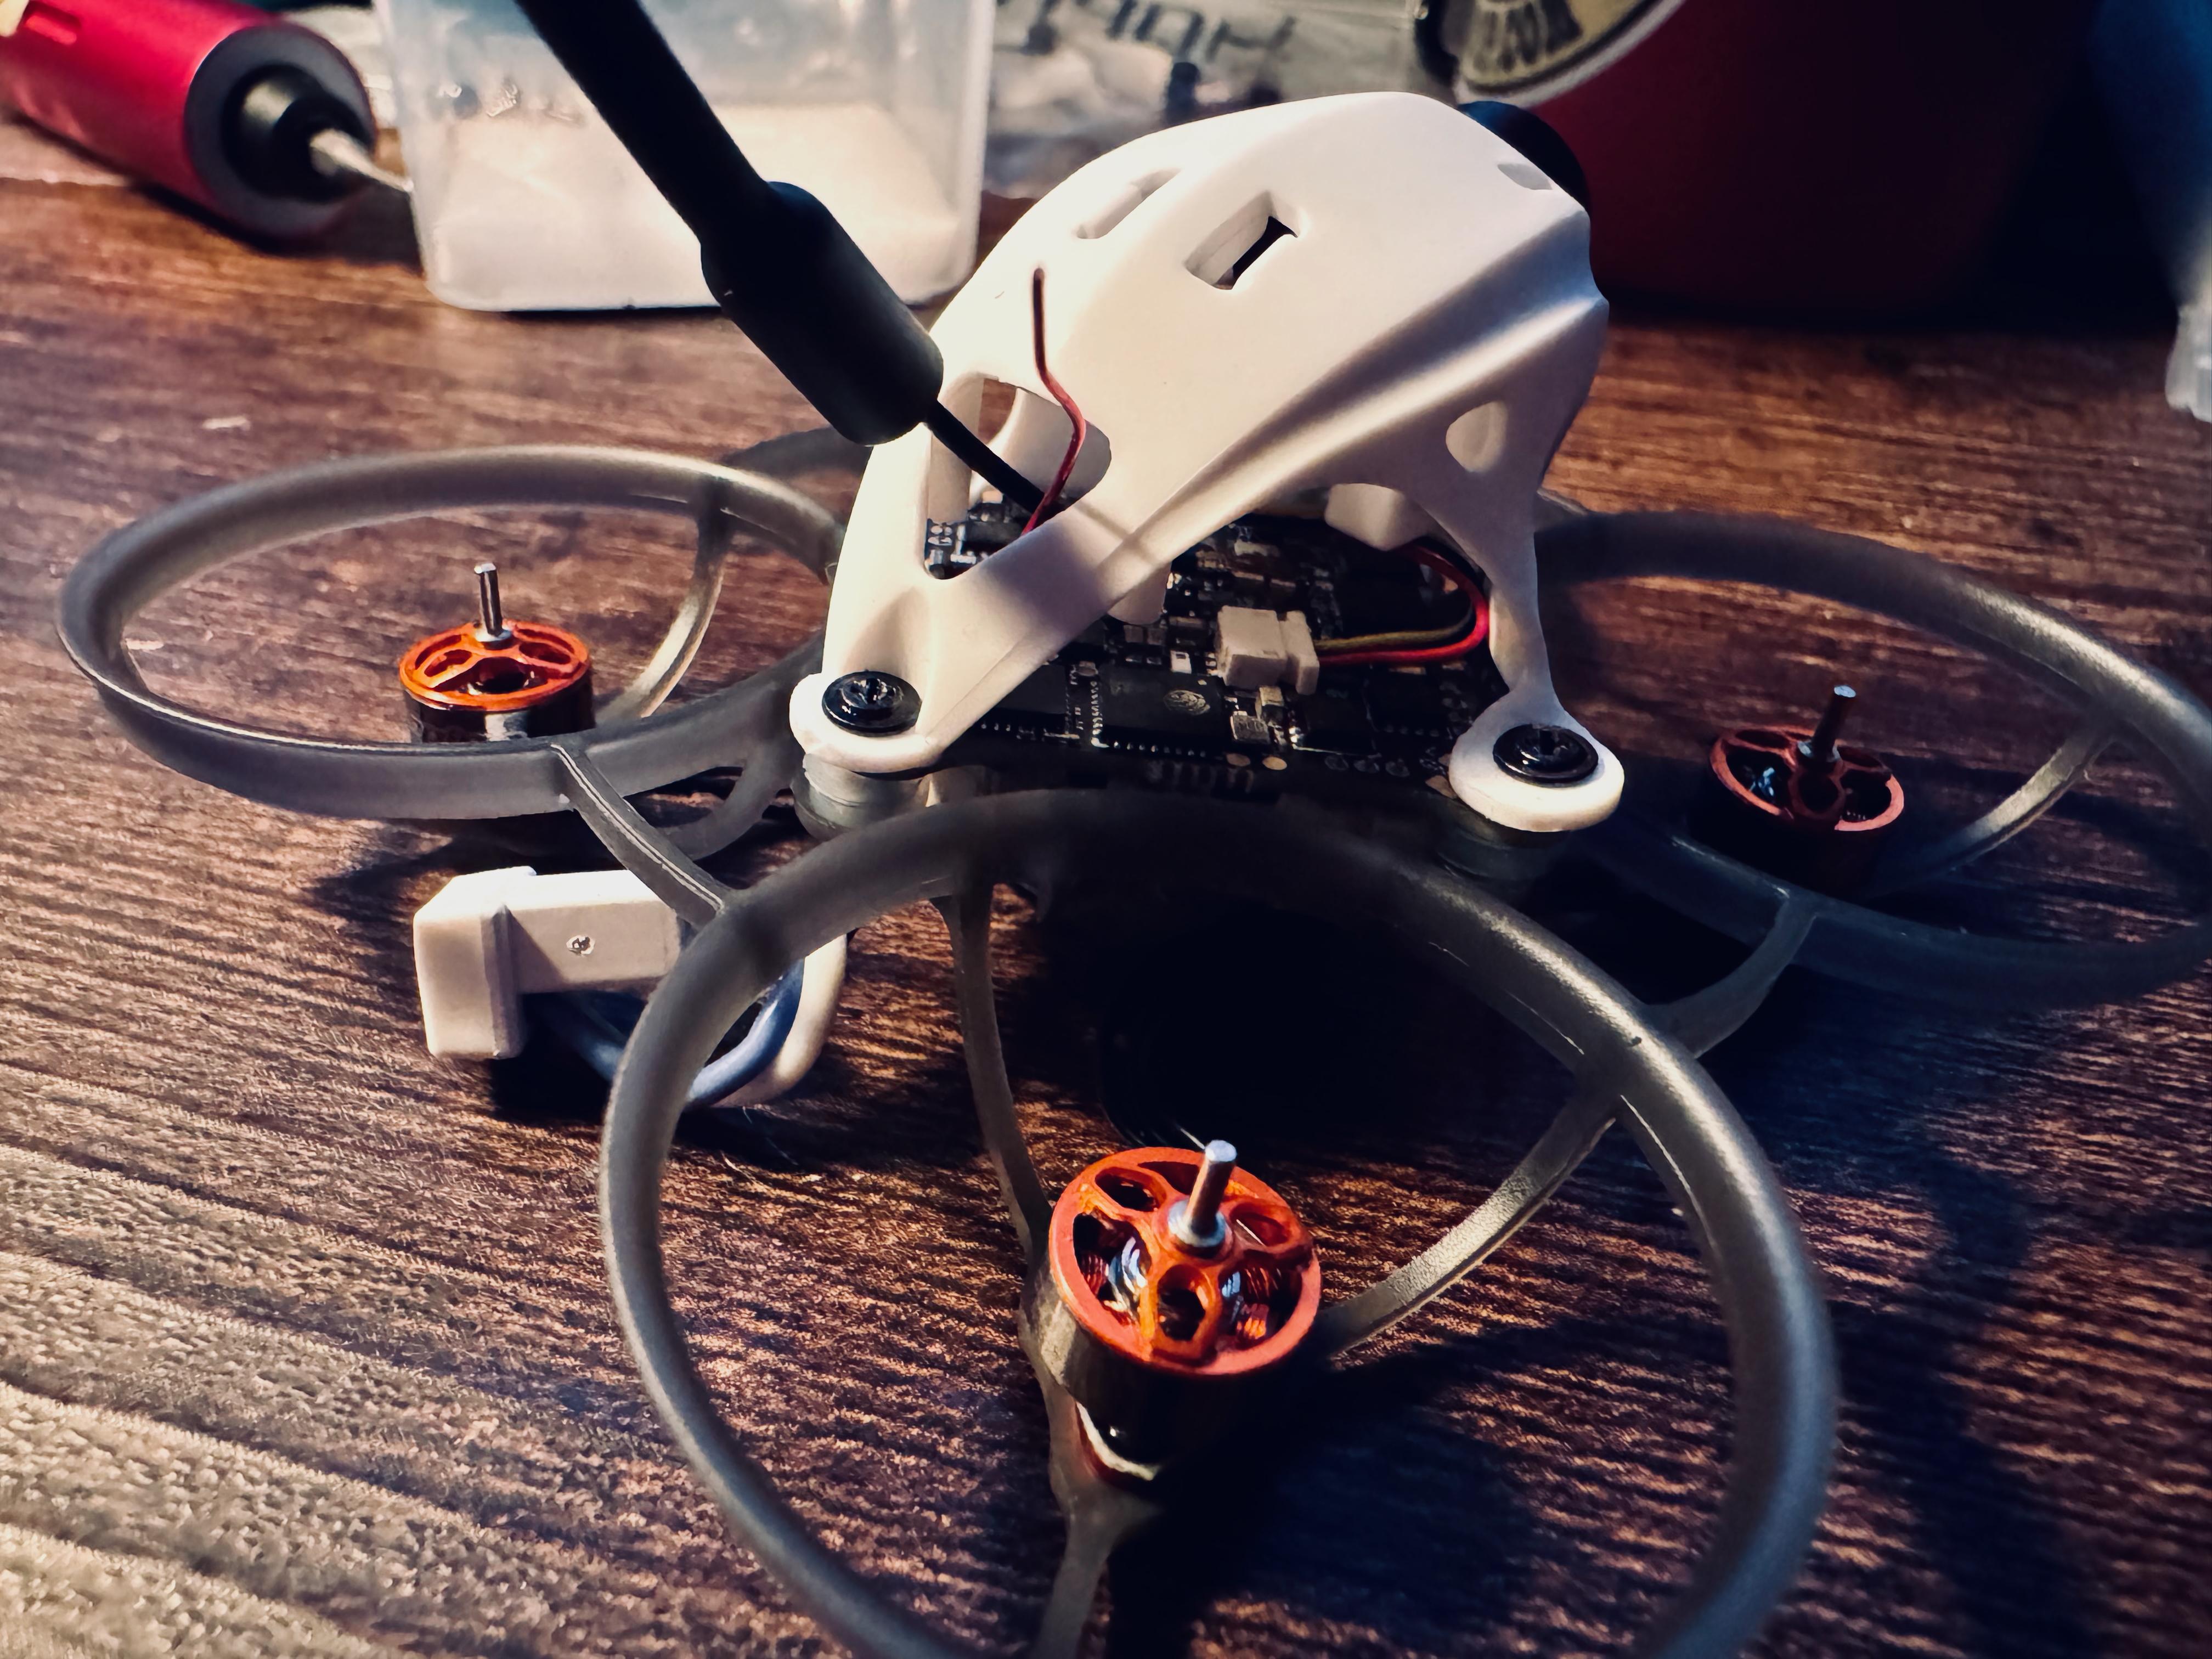
First, I installed the shock absorbers and flight controller. Note the red wire here is the receiver antenna; the video transmitter antenna hasn’t been installed yet.
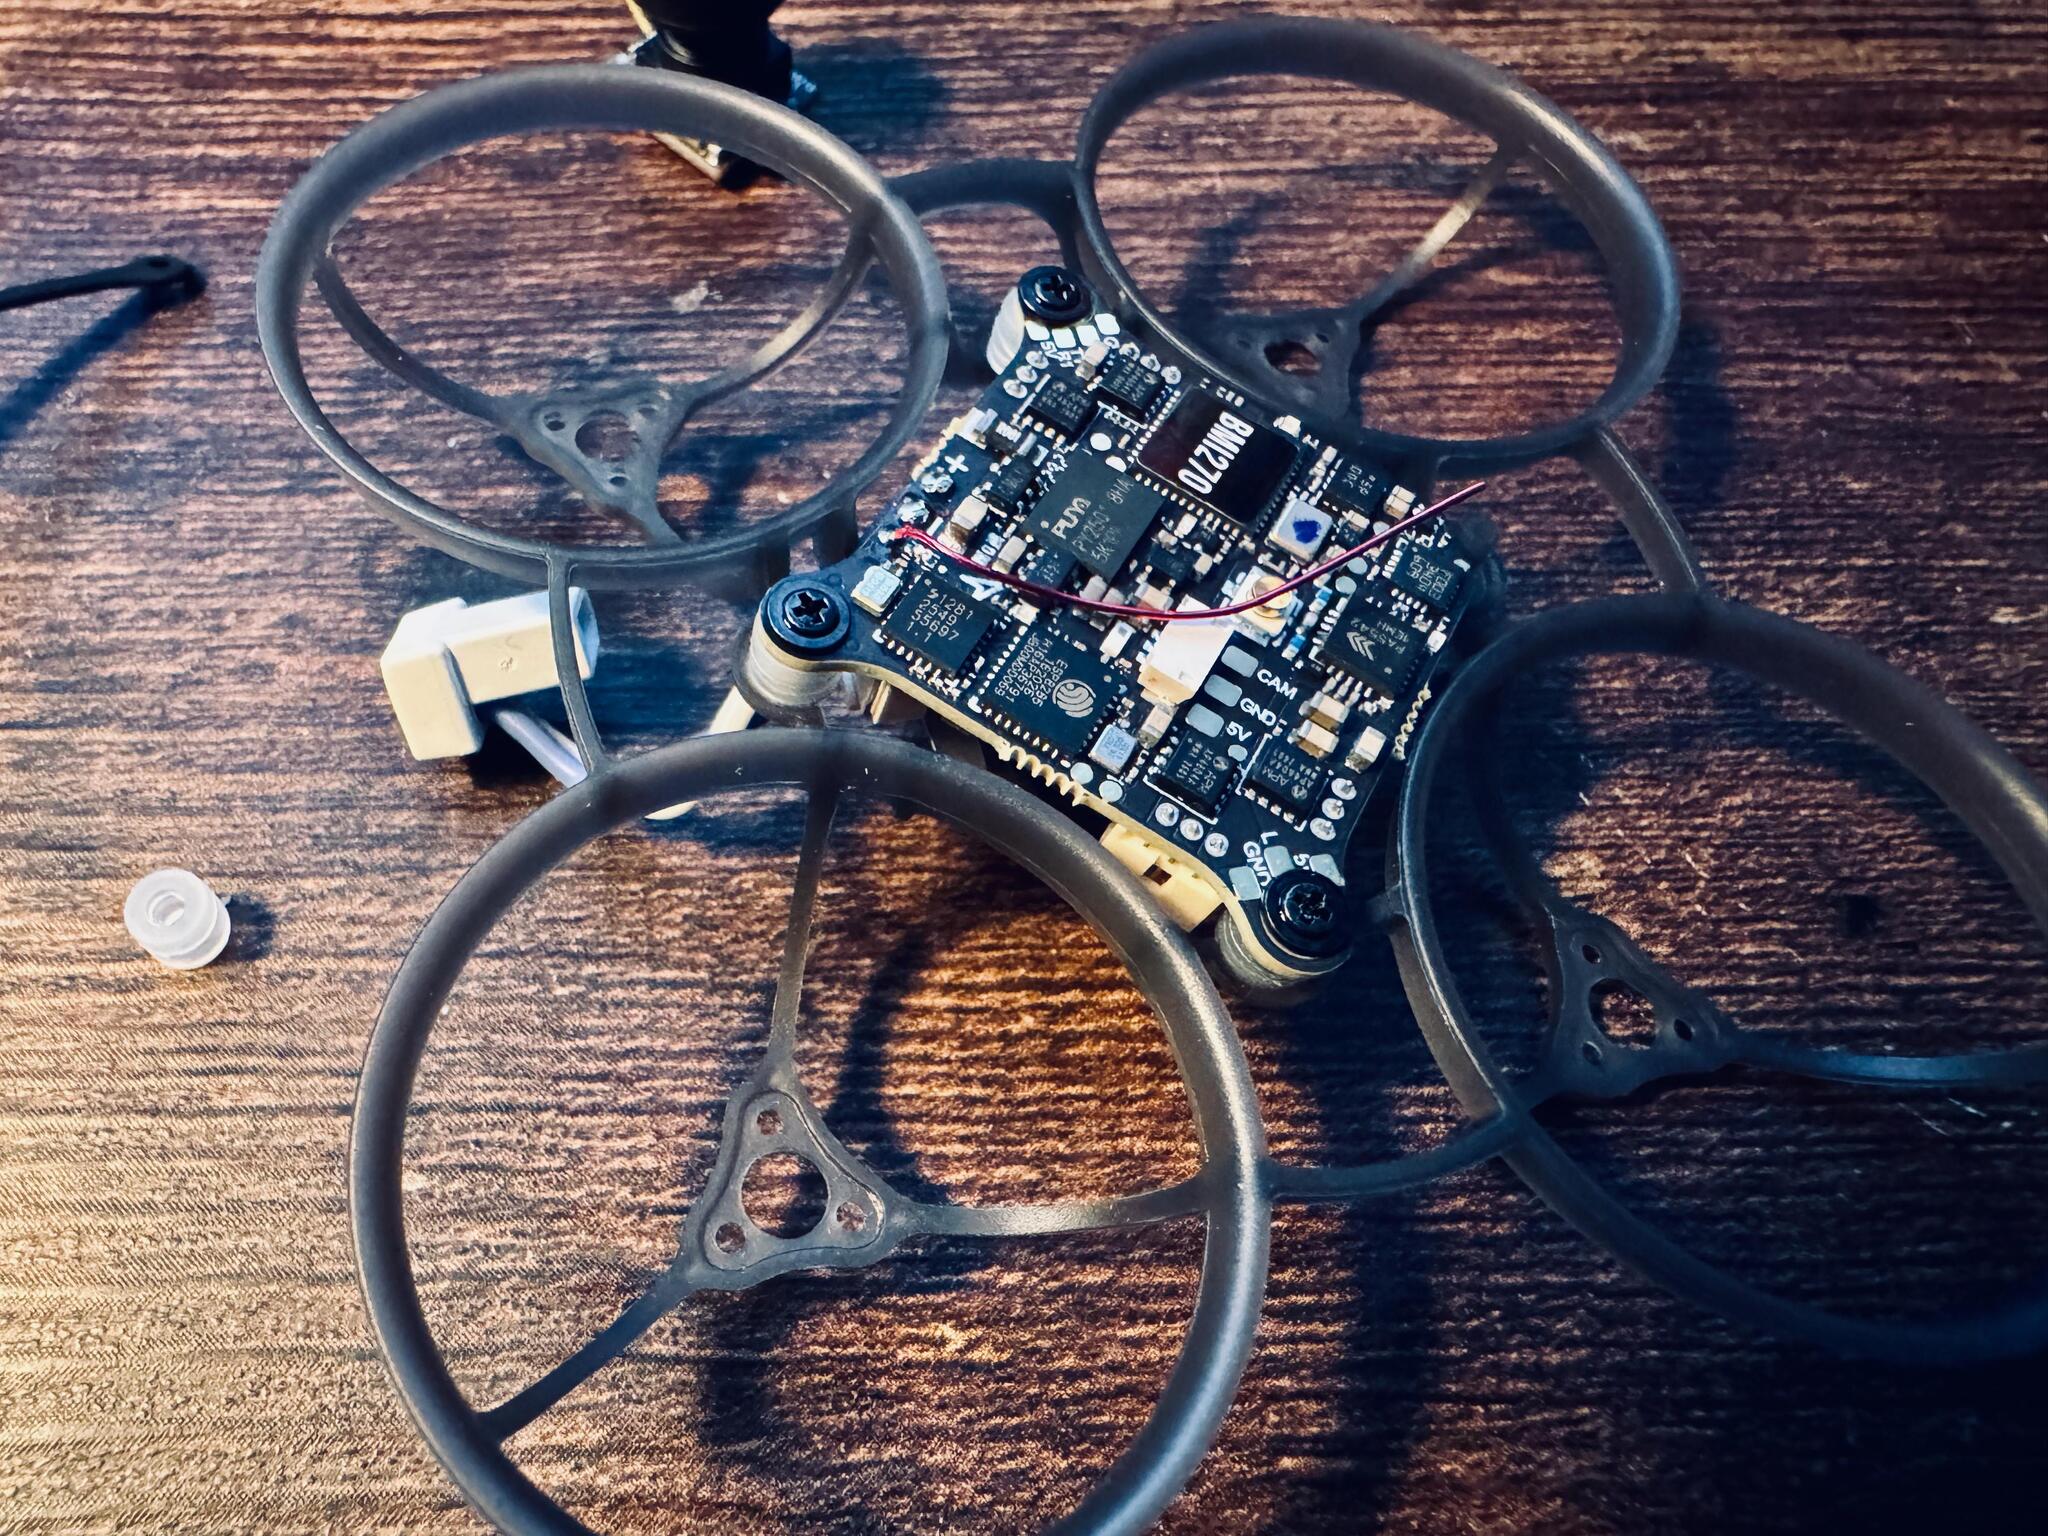
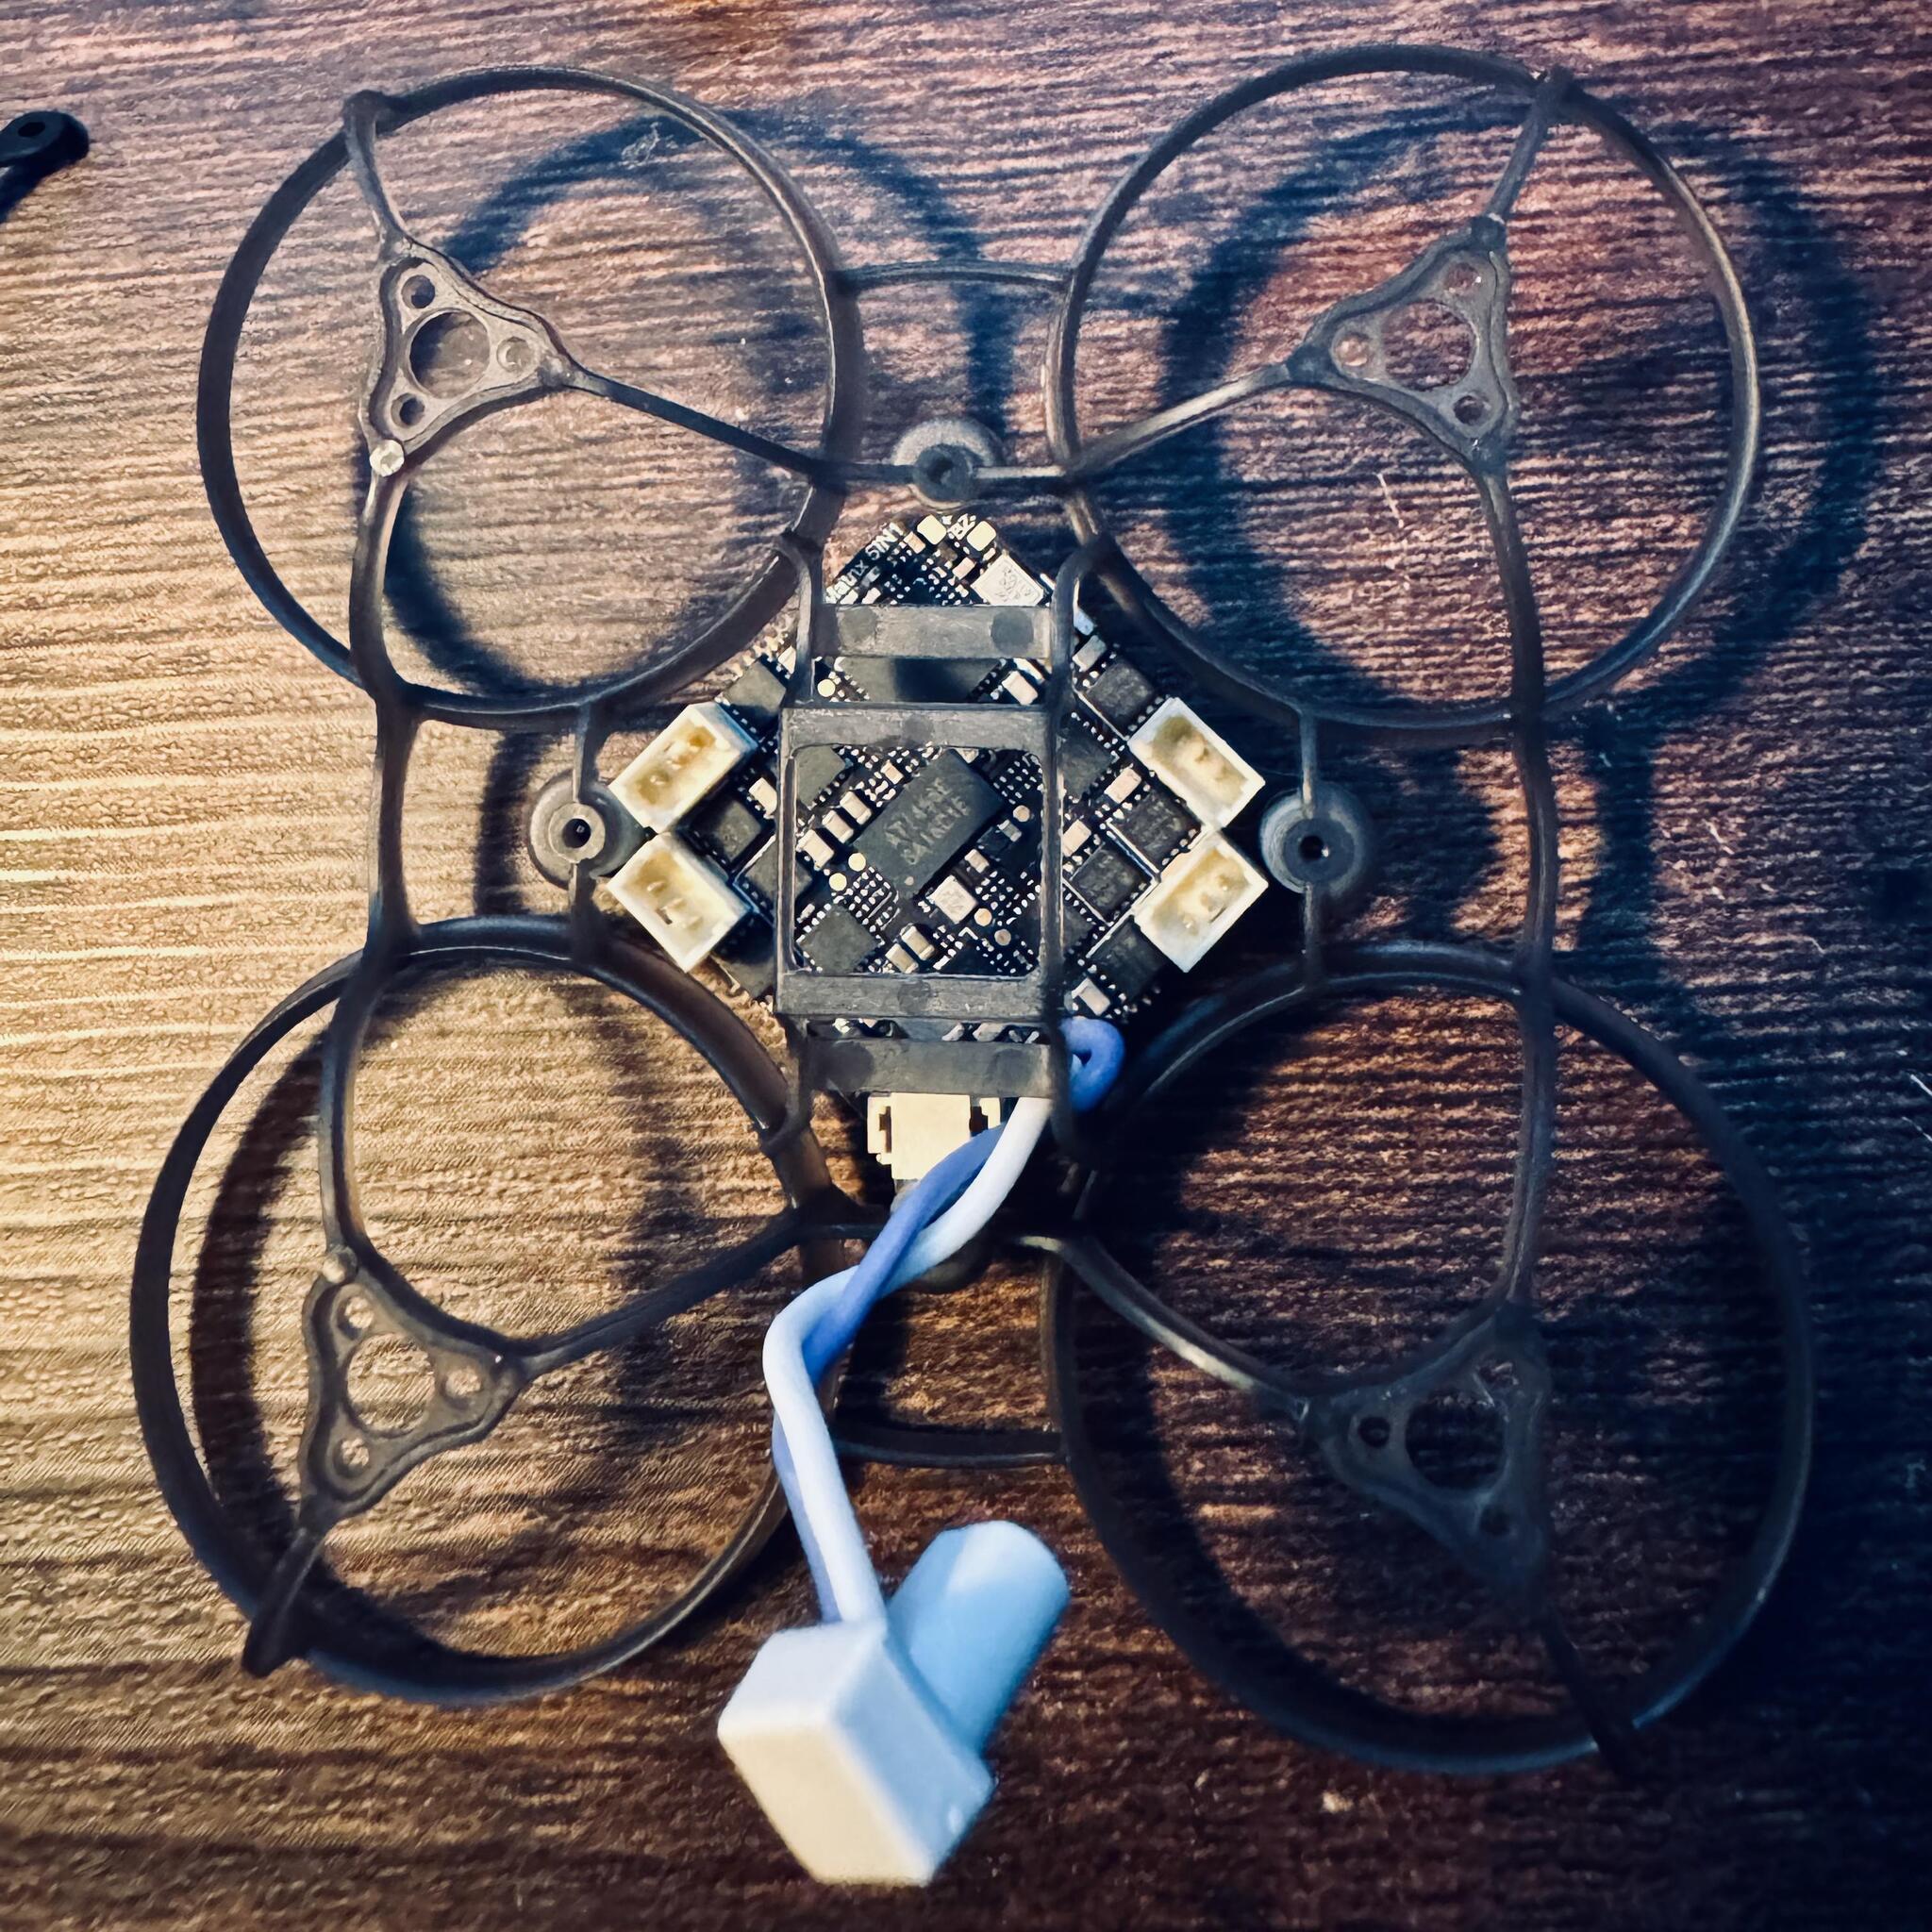
Note that the battery connector (blue and white cable) is aligned with the battery cage at the bottom.
Next, I put in the motors. This board has pluggable motor sockets, which makes maintenance easier if you burn out motors. Some boards require you solder the motor wires in.
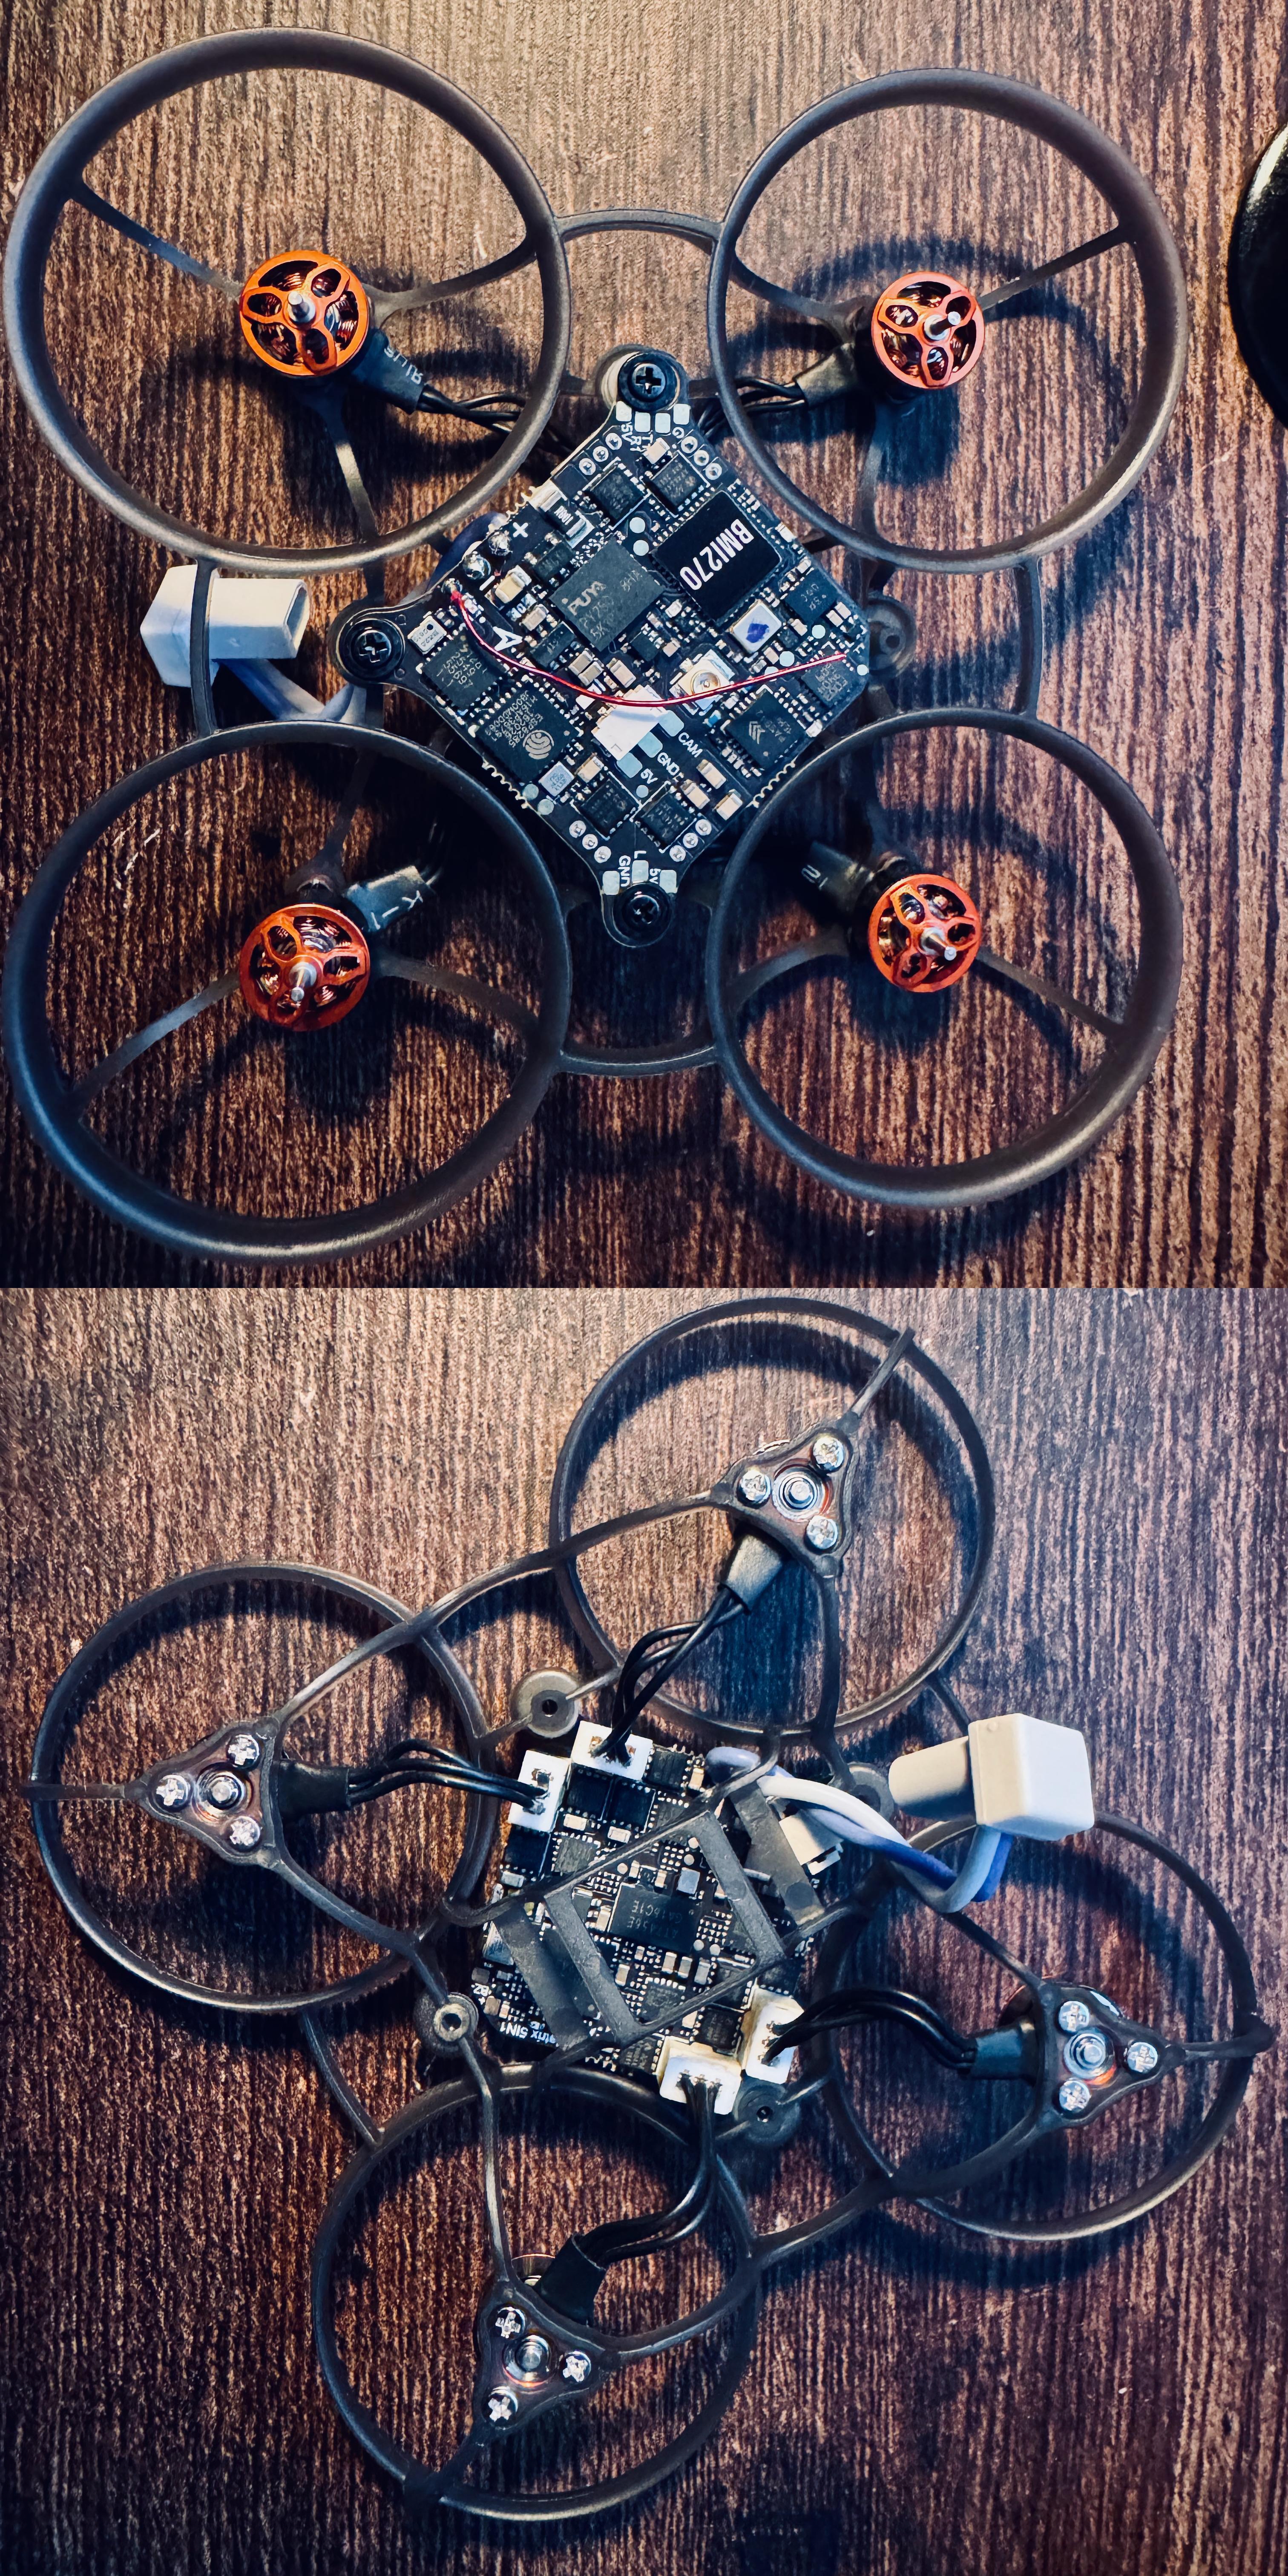
Next, I assembled the canopy and camera. I didn’t get a picture of the intermediate steps, though.
Next, install the props. As mentioned in the troubleshooting steps, you need to take care which prop goes on which motor. There are two kinds of propellers: counter-clockwise (left-hand) and clockwise (right-hand); generally, the right-hand props will be marked with an ‘R’.
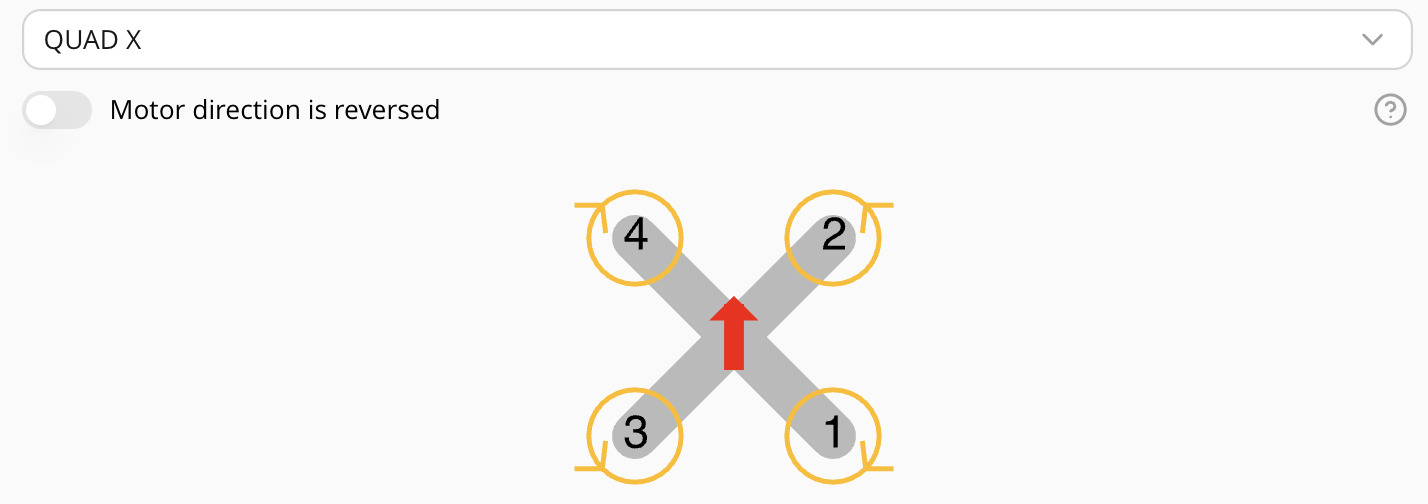
With this motor configuration, I put CW props on motors 1 and 4, and CCW props on motors 2 and 3. Generally, you want the same spin on opposite corners, and never have two of the same spin next to each other. It’s easy to get this wrong, especially with the whoop props. I use a watchmaker’s loupe to double check.
Now you’ve built the drone, it’s time to configure it.
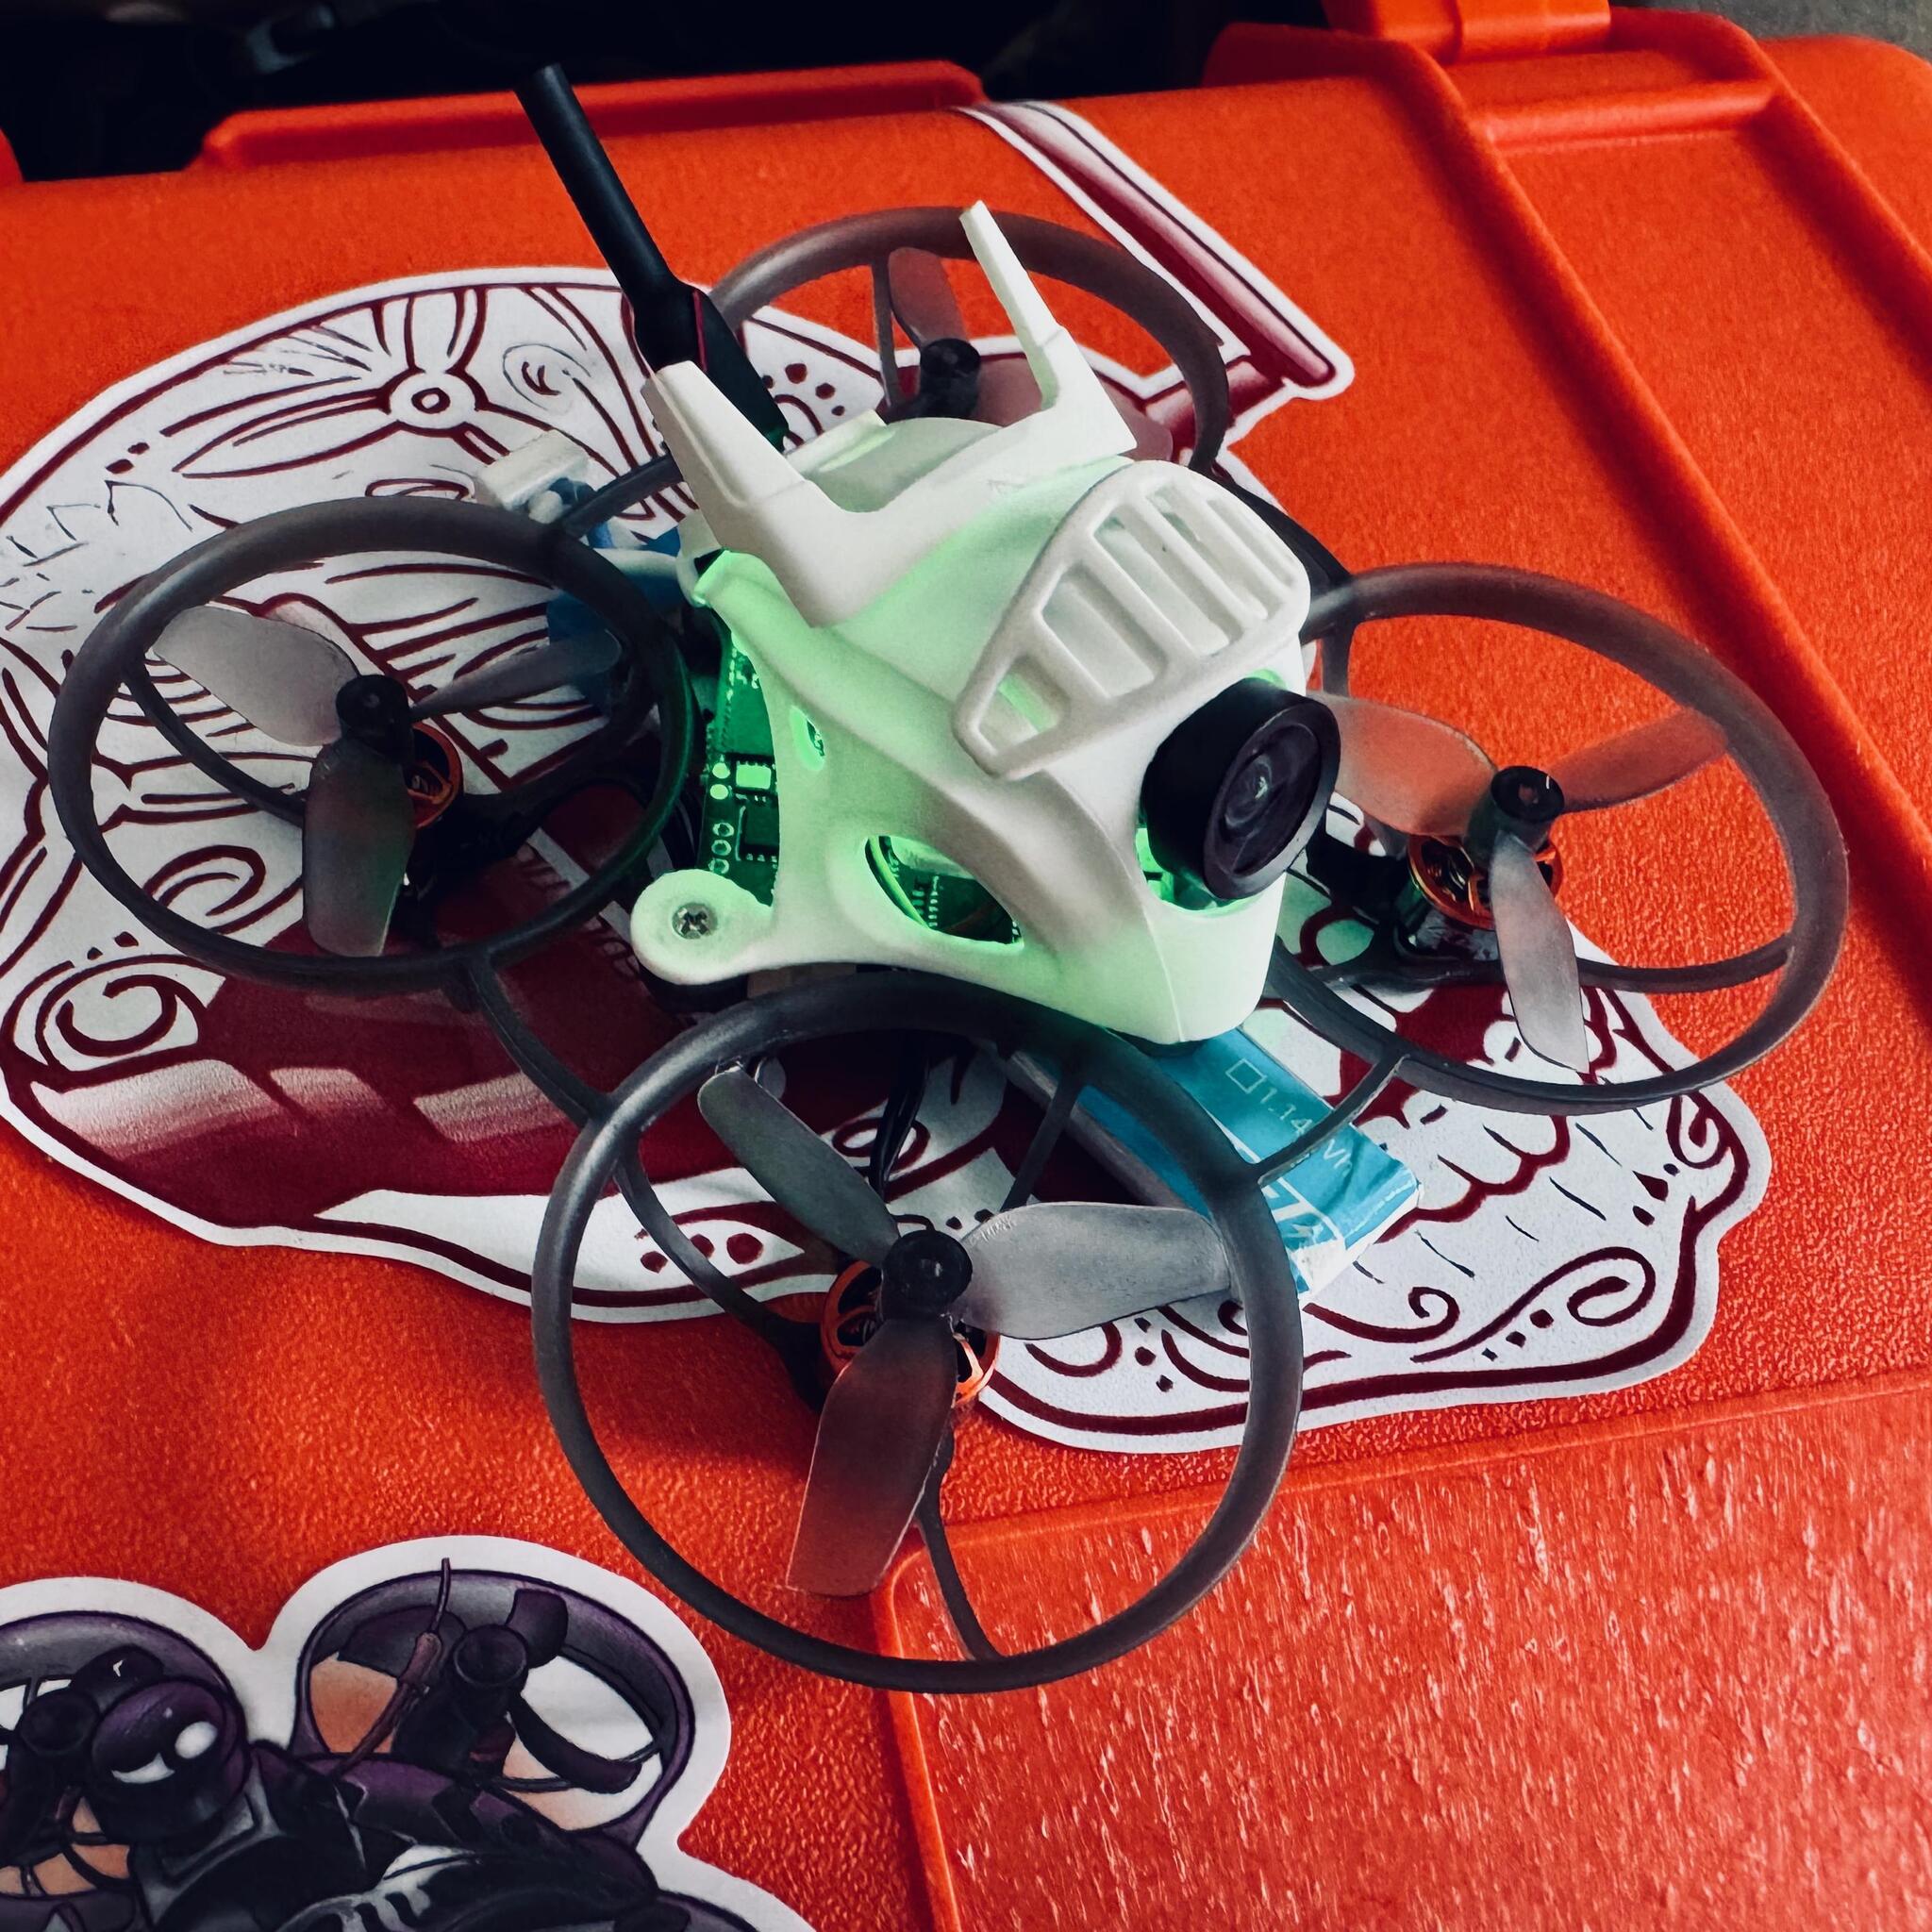
In Betaflight, you’ll want to load presets for the type of drone you’re building. You can also set the drone and pilot name, as well as set up your controller.